Creating a Tinkerlab for your Child at Home
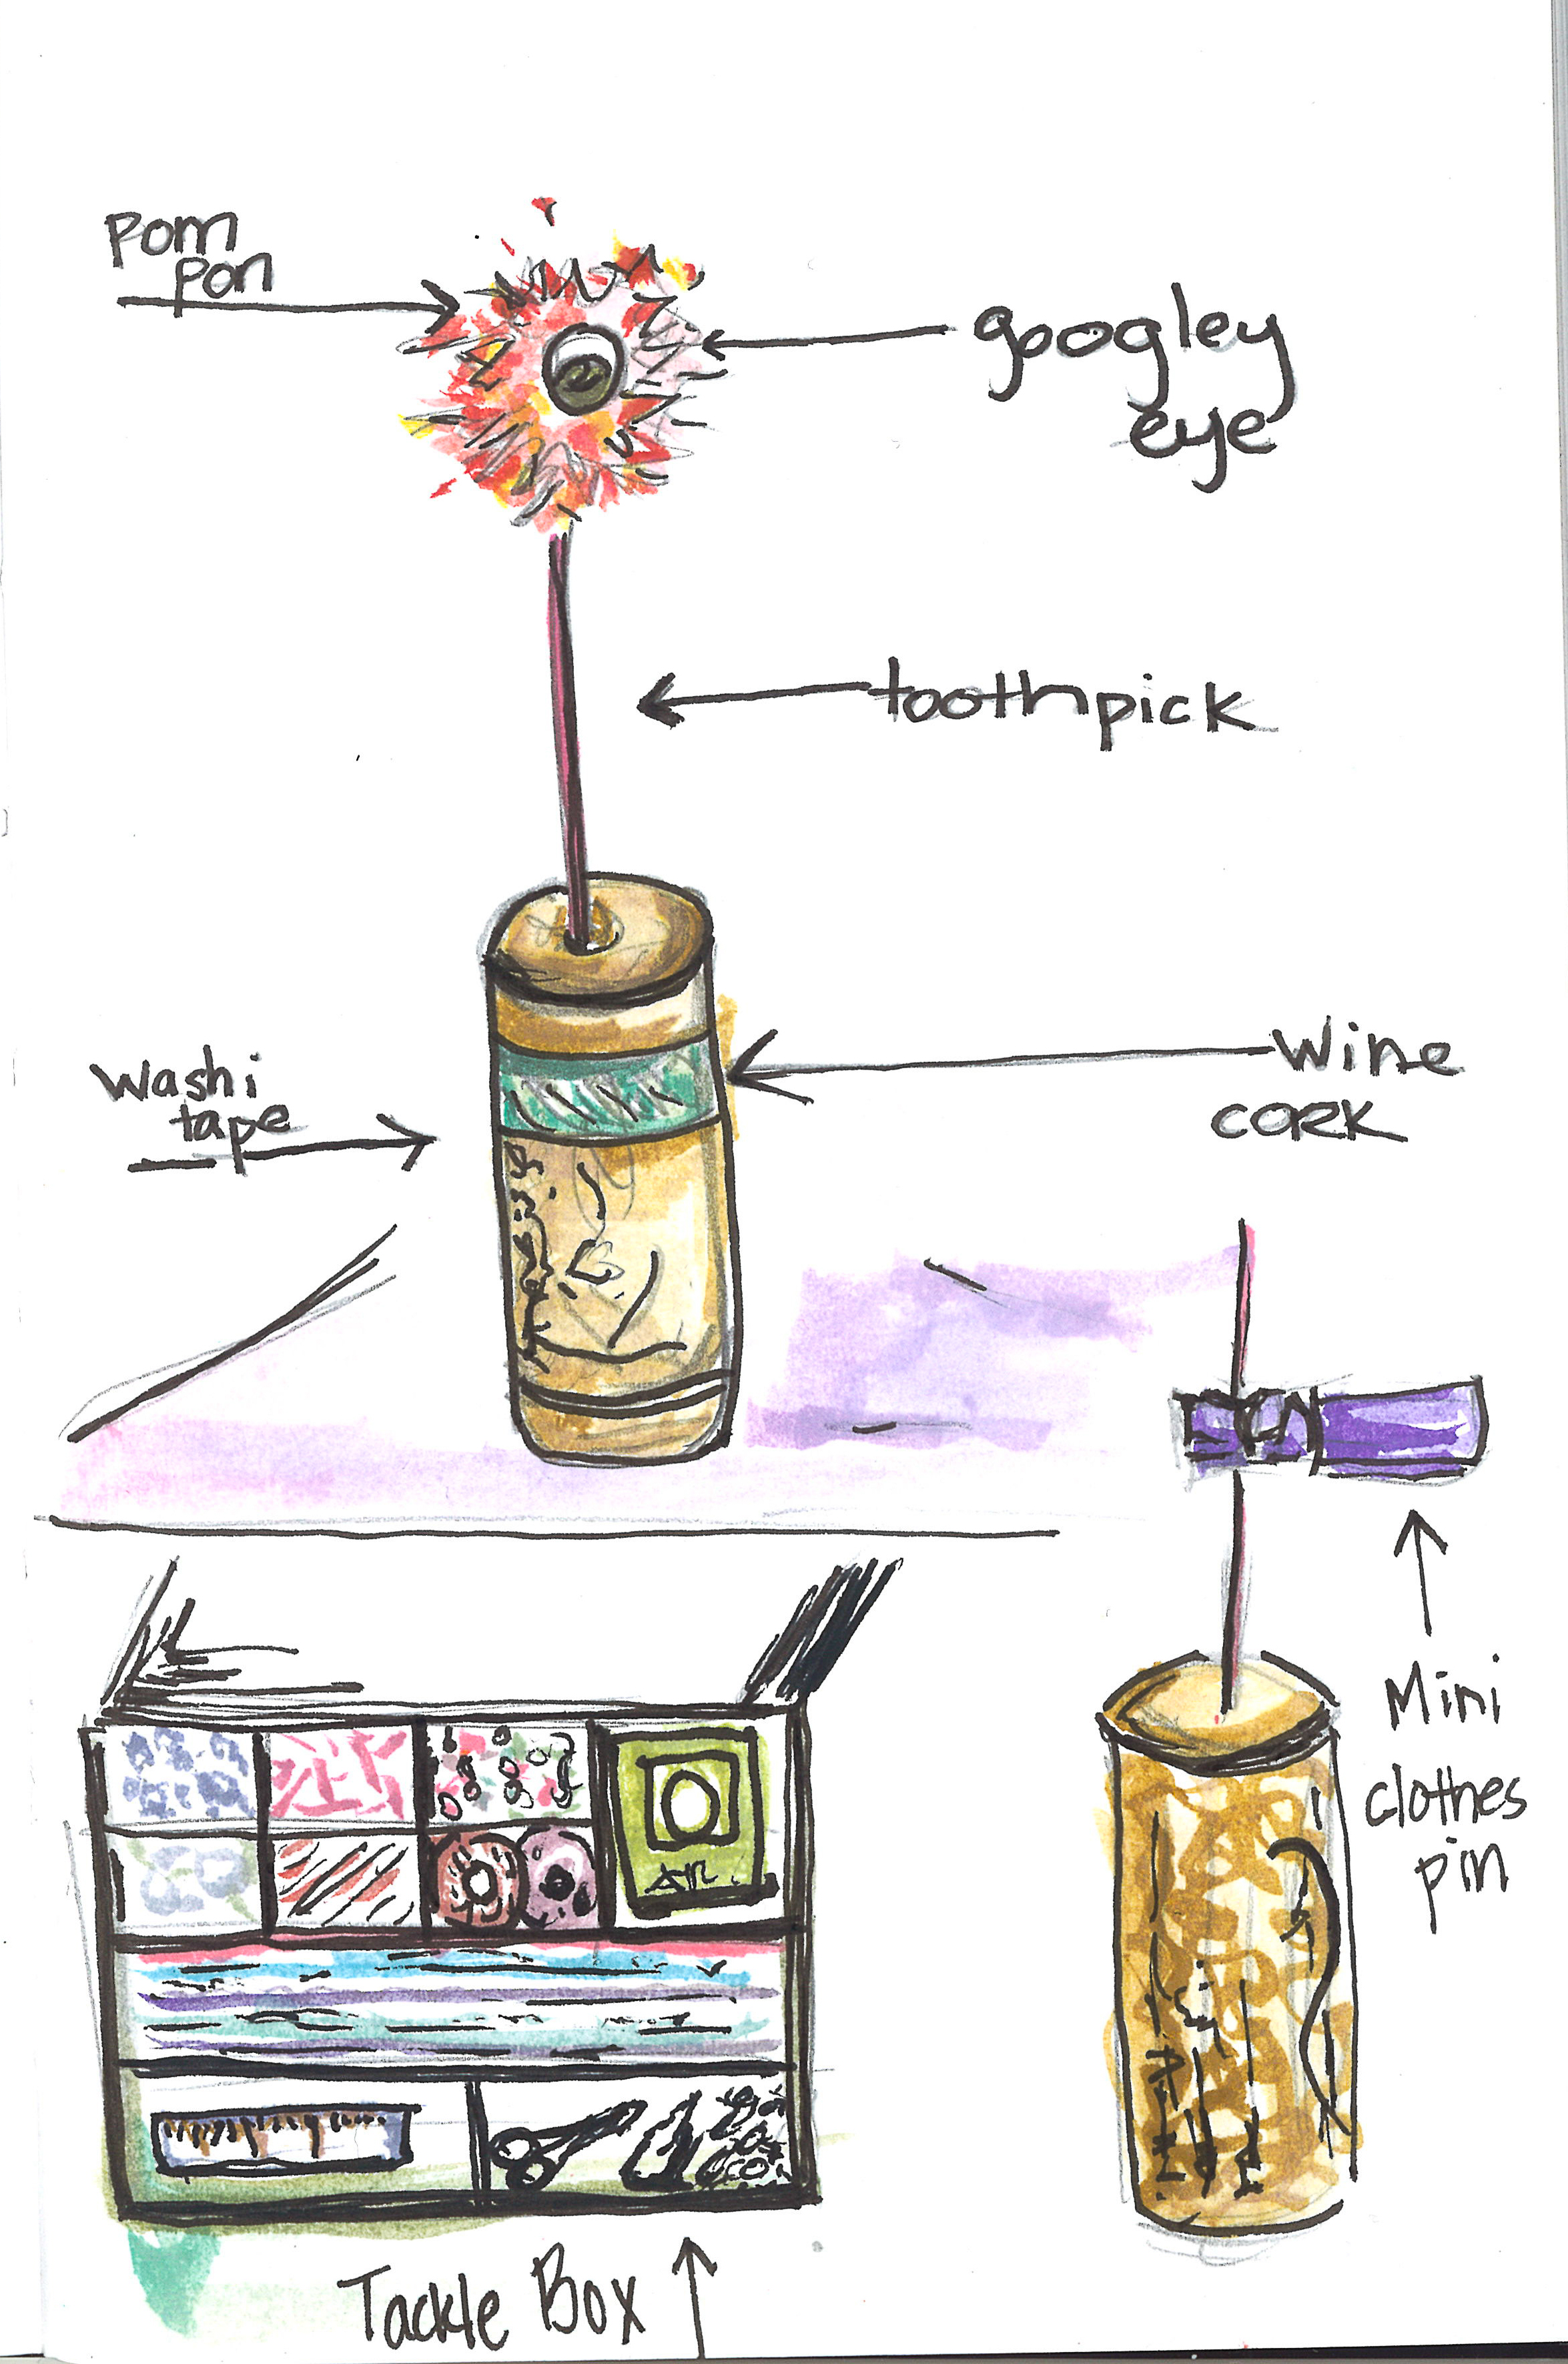
A sketch of some of our projects, and our first tinker box.
On rainy or cold days when we can’t go outside and run around, you might hear my son, Owen, ask me, “Hey Mom, do you want to ‘dinker’ with me?”
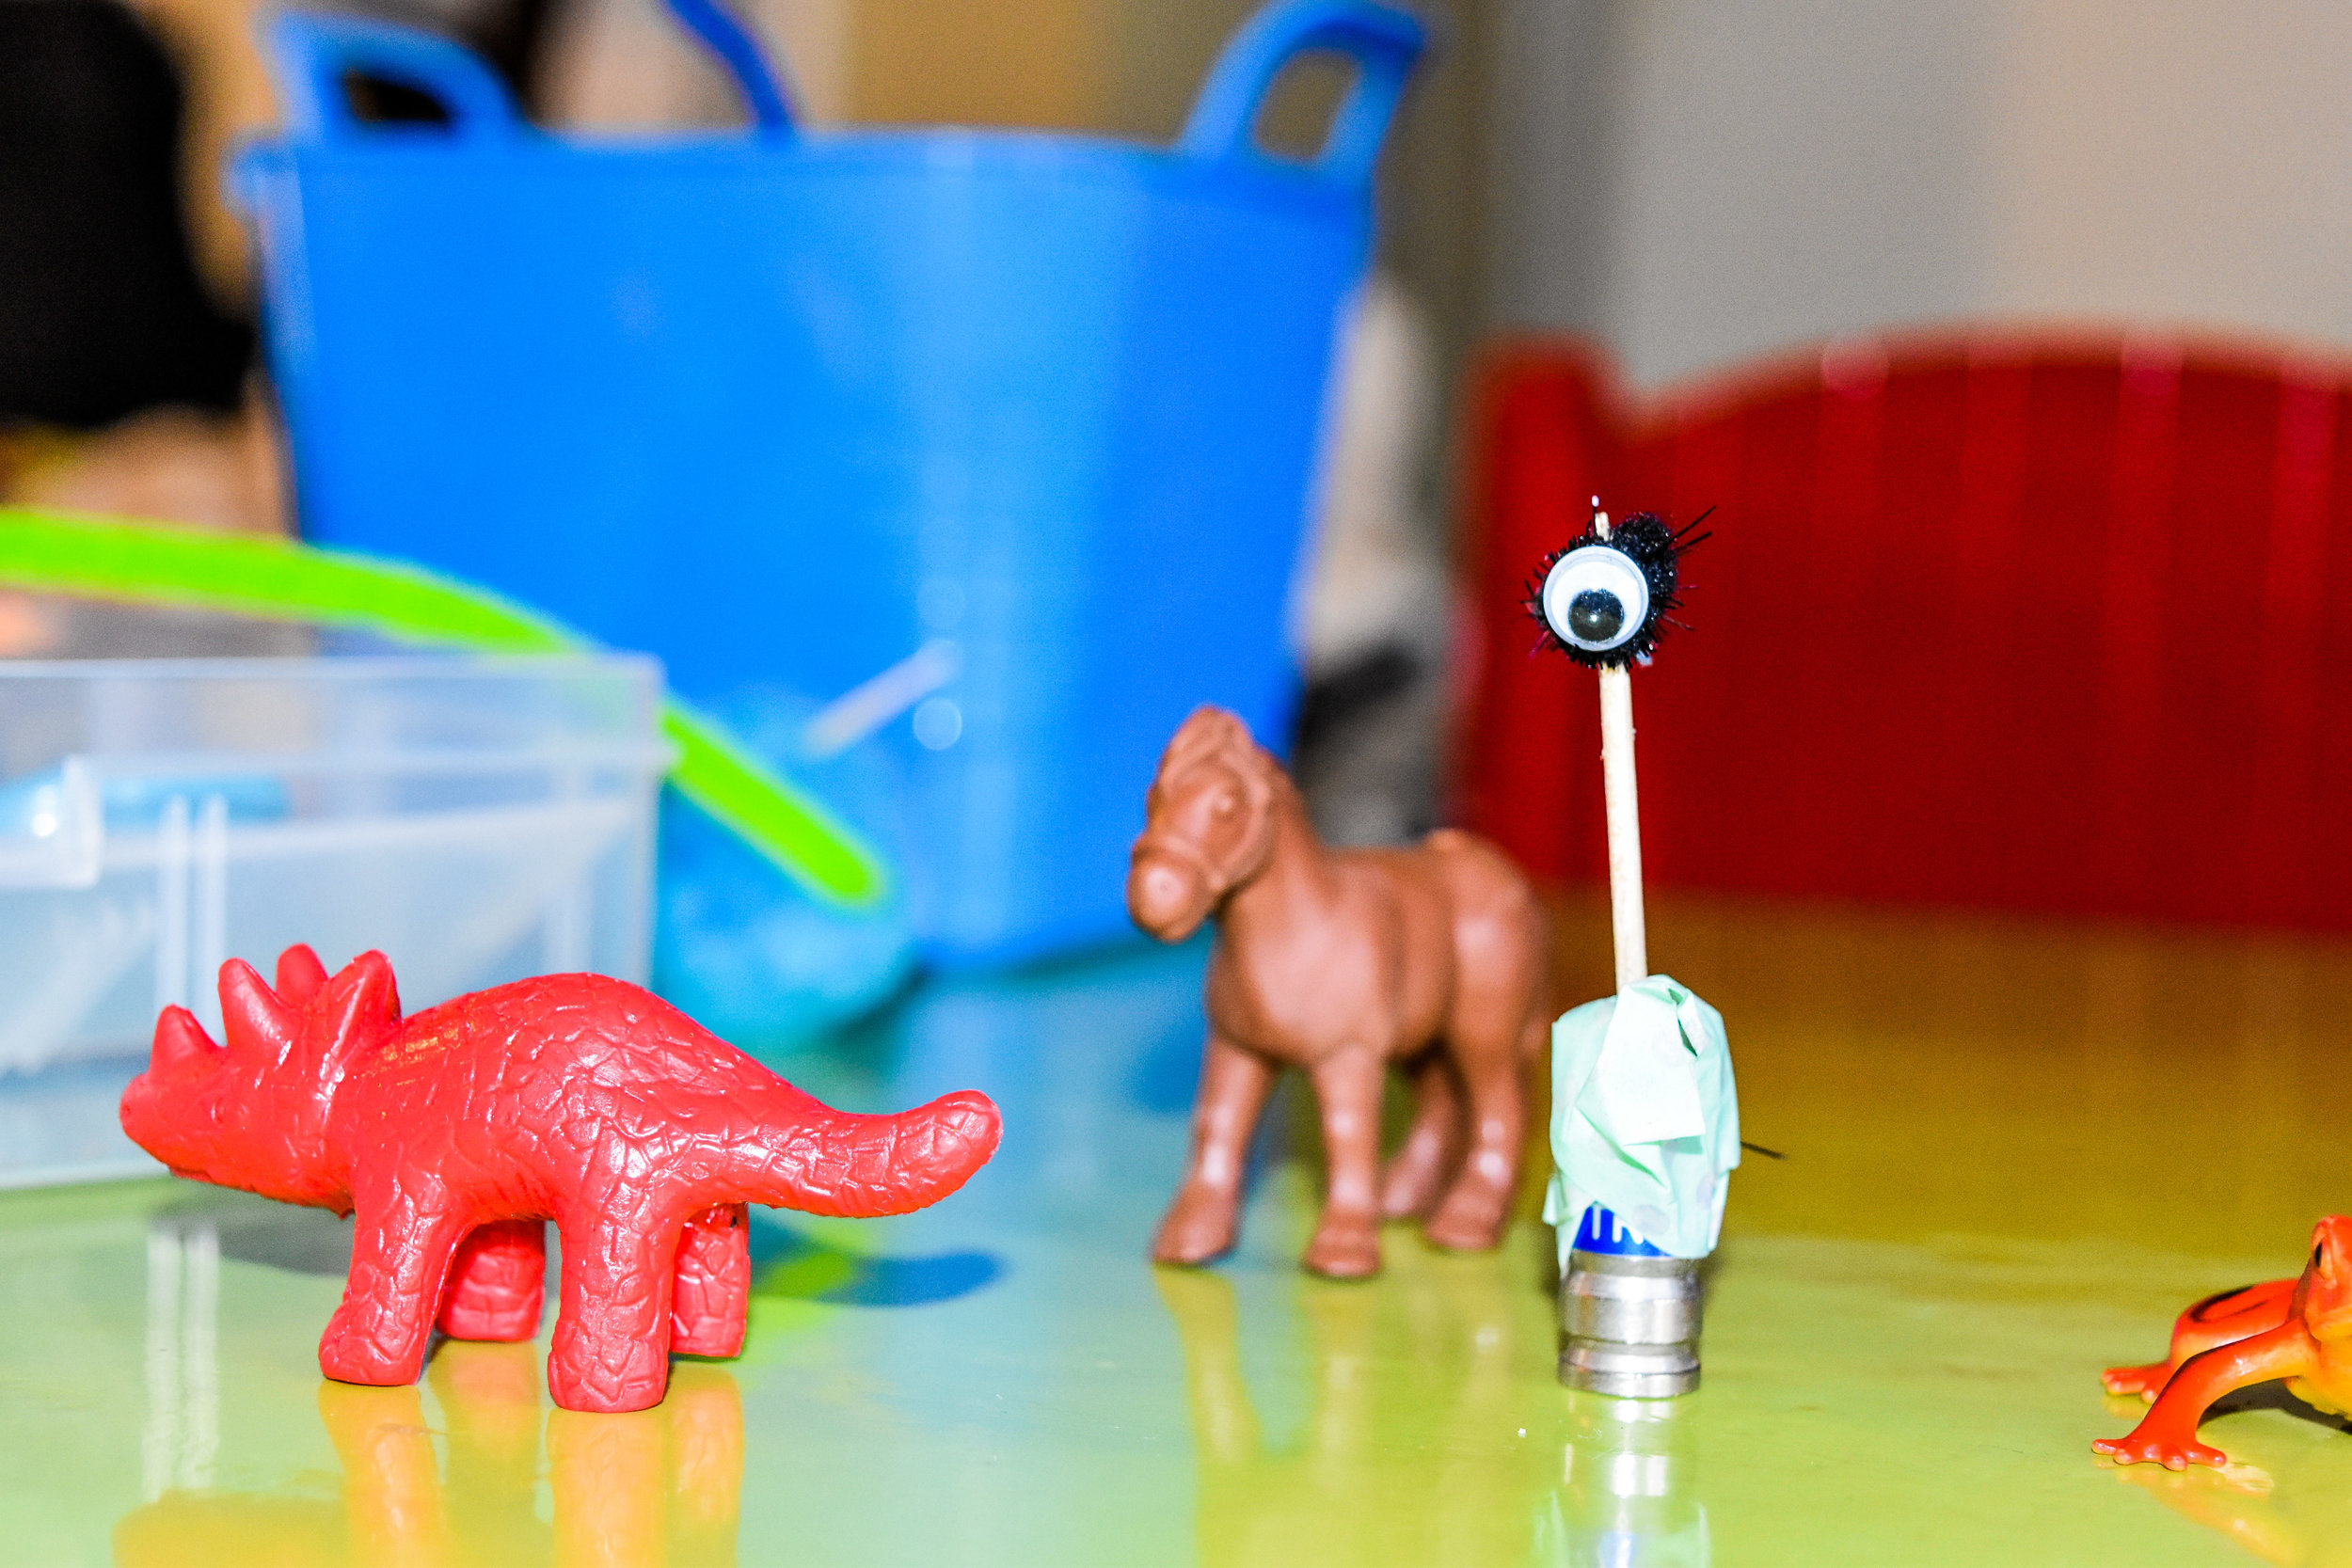
This little one-eyed character was created from an "free-cycled" coax-coupler from Grandma, some washi tape, a toothpick, a mini pom-pom, and a googley e
Of course, he means “tinker” with his tinker box that I put together for him. But, when he was smaller, he pronounced the word with a ‘d’, and so the name “dinker box” has lasted long-past his ability to say the word correctly. The name sounds funny, but I want to share with you some information about one of my favorite DIY children’s toys.
For several years now, in educating young children we have trends that encourage less rote memorization and repetitive learning. Lately, in hopes of creating a future community of designers and inventors, educators seek to provide opportunities for student to develop patience, problem-solving skills, and innovation through promoting a creative “tinkering” spirit. This trend, also called the Make Movement or Maker Culture has it’s roots in the “Do It Yourself” (DIY) trend to which many adults can relate as they make weekend trips to Home Depot and Lowe’s.
A great way to help little kids develop creative problem-solving skills is a Tinker Box. There are currently several subscription boxes on the retail market (e.g., Tinker Crate, Kiwi Crate, etc.). But, I have found that creating my own tinker boxes with Owen’s help to be both cheaper and more satisfying.
As my son has gotten older, he enjoys more active building when he tinkers. On this day, we used an old shipping pallet into which he nailed colorful popsicle sticks. It was quite a large art installation in our living room. And he had just as much fun days later pulling the nails out with the hammer.
To create a tinker box, I bought a couple of fishing tackle boxes from a local retail store. Then, I filled the box with small tools and components which Owen could put together and create small projects. There are many, many articles and pinterest boards dedicated to helping moms and dads create their own tinker boxes or inventor boxes, but in my experience, the items below are most frequently used by my 5-year-old. (pictured left: You can see one of the tackle boxes in the lower right-hand corner.)
Supplies to put in your tinker box or tinkerlab:
Washi tape is a must. Washi tape is a thin, semi-transparent tape, invented in Japan, usually made of natural fibers and printed with fun colors or patterns. You can find it just about everywhere these days from Target to Michael’s craft store; I even found glittery washi tape at the dollar store recently. The simple reason that we like to use washi tape is because it’s really easy for little fingers to tear off a piece to use in a project! (The cheaper tapes are sometimes easier to tear, but they are not as sticky, so may not hold as well.)
Toothpicks (with adult supervision)
Wine corks function as great connectors because they are relatively soft. Toothpicks and pipe cleaners can be easily embedded in the cork with the help of a "pilot hole" "drilled by an unfolded paperclip.
Rubber bands, string, yarn
Art supplies: pipe cleaners, googley eyes, popsicle sticks, decorative beads and buttons
Child-friendly scissors
White glue or glue sticks (I found some cylindrical glue "pens" made by Elmer's. They seem to provide a good sticky hold, and they are easier for little hands to manage than the traditional larger bottles of white glue.)
Small ruler or tape measure (sometimes we just measure stuff - and that's fun all by itself.)
Small screws, nuts, or bolts
Other recycled household materials: paper towel tubes, toilet paper tubes (kind of an 'eew' factor here, but they are really handy for creating marble tunnels.)
Glue gun (We don’t keep this item in the tinker box, but often we use it in lieu of white glue or glue stick to attach especially heavy items).
So, what do you do when you have put all of your materials together? Let your child’s imagination take over! Create with them. Sometimes, I consult an article, book or a Pinterest board for a structured tinkering activity, but for very small children (ages 3-4), no rules or structure is necessary. As your child gets older, you can try talking to them about using their tinkering to solve a problem or have them work toward an end result of their own making.
Further reading on the topic: Tinkerlab: Hands on Guide: Little Inventors.


